Portable stories in Playwright CT
(⚠️ Experimental)
The portable stories API for Playwright CT is experimental. Playwright CT itself is also experimental. Breaking changes might occur in either library in upcoming releases.
Portable stories are Storybook stories which can be used in external environments, such as Playwright Component Tests (CT).
Normally, Storybook composes a story and its annotations automatically, as part of the story pipeline. When using stories in Playwright CT, you can use the createTest function, which extends Playwright's test functionality to add a custom mount mechanism, to take care of the story pipeline for you.
Your project must be using React 18+ to use the portable stories API with Playwright CT.
Using Next.js? The portable stories API is not yet supported in Next.js with Playwright CT.
createTest
(⚠️ Experimental)
Instead of using Playwright's own test function, you can use Storybook's special createTest function to extend Playwright's base fixture and override the mount function to load, render, and play the story. This function is experimental and is subject to changes.
import { createTest } from '@storybook/react/experimental-playwright';
import { test as base } from '@playwright/experimental-ct-react';

// See explanation below for `.portable` stories file
import stories from './Button.stories.portable';

const test = createTest(base);

test('renders primary button', async ({ mount }) => {
  // The mount function will execute all the necessary steps in the story,
  // such as loaders, render, and play function
  await mount(<stories.Primary />);
});

test('renders primary button with overridden props', async ({ mount }) => {
  // You can pass custom props to your component via JSX
  const component = await mount(<stories.Primary label="label from test" />);
  await expect(component).toContainText('label from test');
  await expect(component.getByRole('button')).toHaveClass(/storybook-button--primary/);
});The code which you write in your Playwright test file is transformed and orchestrated by Playwright, where part of the code executes in Node, while other parts execute in the browser.
Because of this, you have to compose the stories in a separate file than your own test file:
// Button.stories.portable.ts
// Replace your-renderer with the renderer you are using (e.g. react, vue3)
import { composeStories } from '@storybook/your-renderer';

import * as stories from './Button.stories';

// This function will be executed in the browser
// and compose all stories, exporting them in a single object
export default composeStories(stories);
You can then import the composed stories in your Playwright test file, as in the example above.
Type
createTest(
  baseTest: PlaywrightFixture
) => PlaywrightFixture
Parameters
baseTest
(Required)
Type: PlaywrightFixture
The base test function to use, e.g. test from Playwright.
Return
Type: PlaywrightFixture
A Storybook-specific test function with the custom mount mechanism.
setProjectAnnotations
This API should be called once, before the tests run, in playwright/index.ts. This will make sure that when mount is called, the project annotations are taken into account as well.
These are the configurations needed in the setup file:
- preview annotations: those defined in
.storybook/preview.ts - addon annotations (optional): those exported by addons
- beforeAll: code that runs before all tests (more info)
import { test } from '@playwright/experimental-ct-react';
import { setProjectAnnotations } from '@storybook/react';
// 👇 Import the exported annotations, if any, from the addons you're using; otherwise remove this
import * as addonAnnotations from 'my-addon/preview';
import * as previewAnnotations from './.storybook/preview';

const annotations = setProjectAnnotations([
  previewAnnotations,
  addonAnnotations,
]);

// Supports beforeAll hook from Storybook
test.beforeAll(annotations.beforeAll);
Sometimes a story can require an addon's decorator or loader to render properly. For example, an addon can apply a decorator that wraps your story in the necessary router context. In this case, you must include that addon's preview export in the project annotations set. See addonAnnotations in the example above.
Note: If the addon doesn't automatically apply the decorator or loader itself, but instead exports them for you to apply manually in .storybook/preview.js|ts (e.g. using withThemeFromJSXProvider from @storybook/addon-themes), then you do not need to do anything else. They are already included in the previewAnnotations in the example above.
Type
(projectAnnotations: ProjectAnnotation | ProjectAnnotation[]) => ProjectAnnotationParameters
projectAnnotations
(Required)
Type: ProjectAnnotation | ProjectAnnotation[]
A set of project annotations (those defined in .storybook/preview.js|ts) or an array of sets of project annotations, which will be applied to all composed stories.
Annotations
Annotations are the metadata applied to a story, like args, decorators, loaders, and play functions. They can be defined for a specific story, all stories for a component, or all stories in the project.
Story pipeline
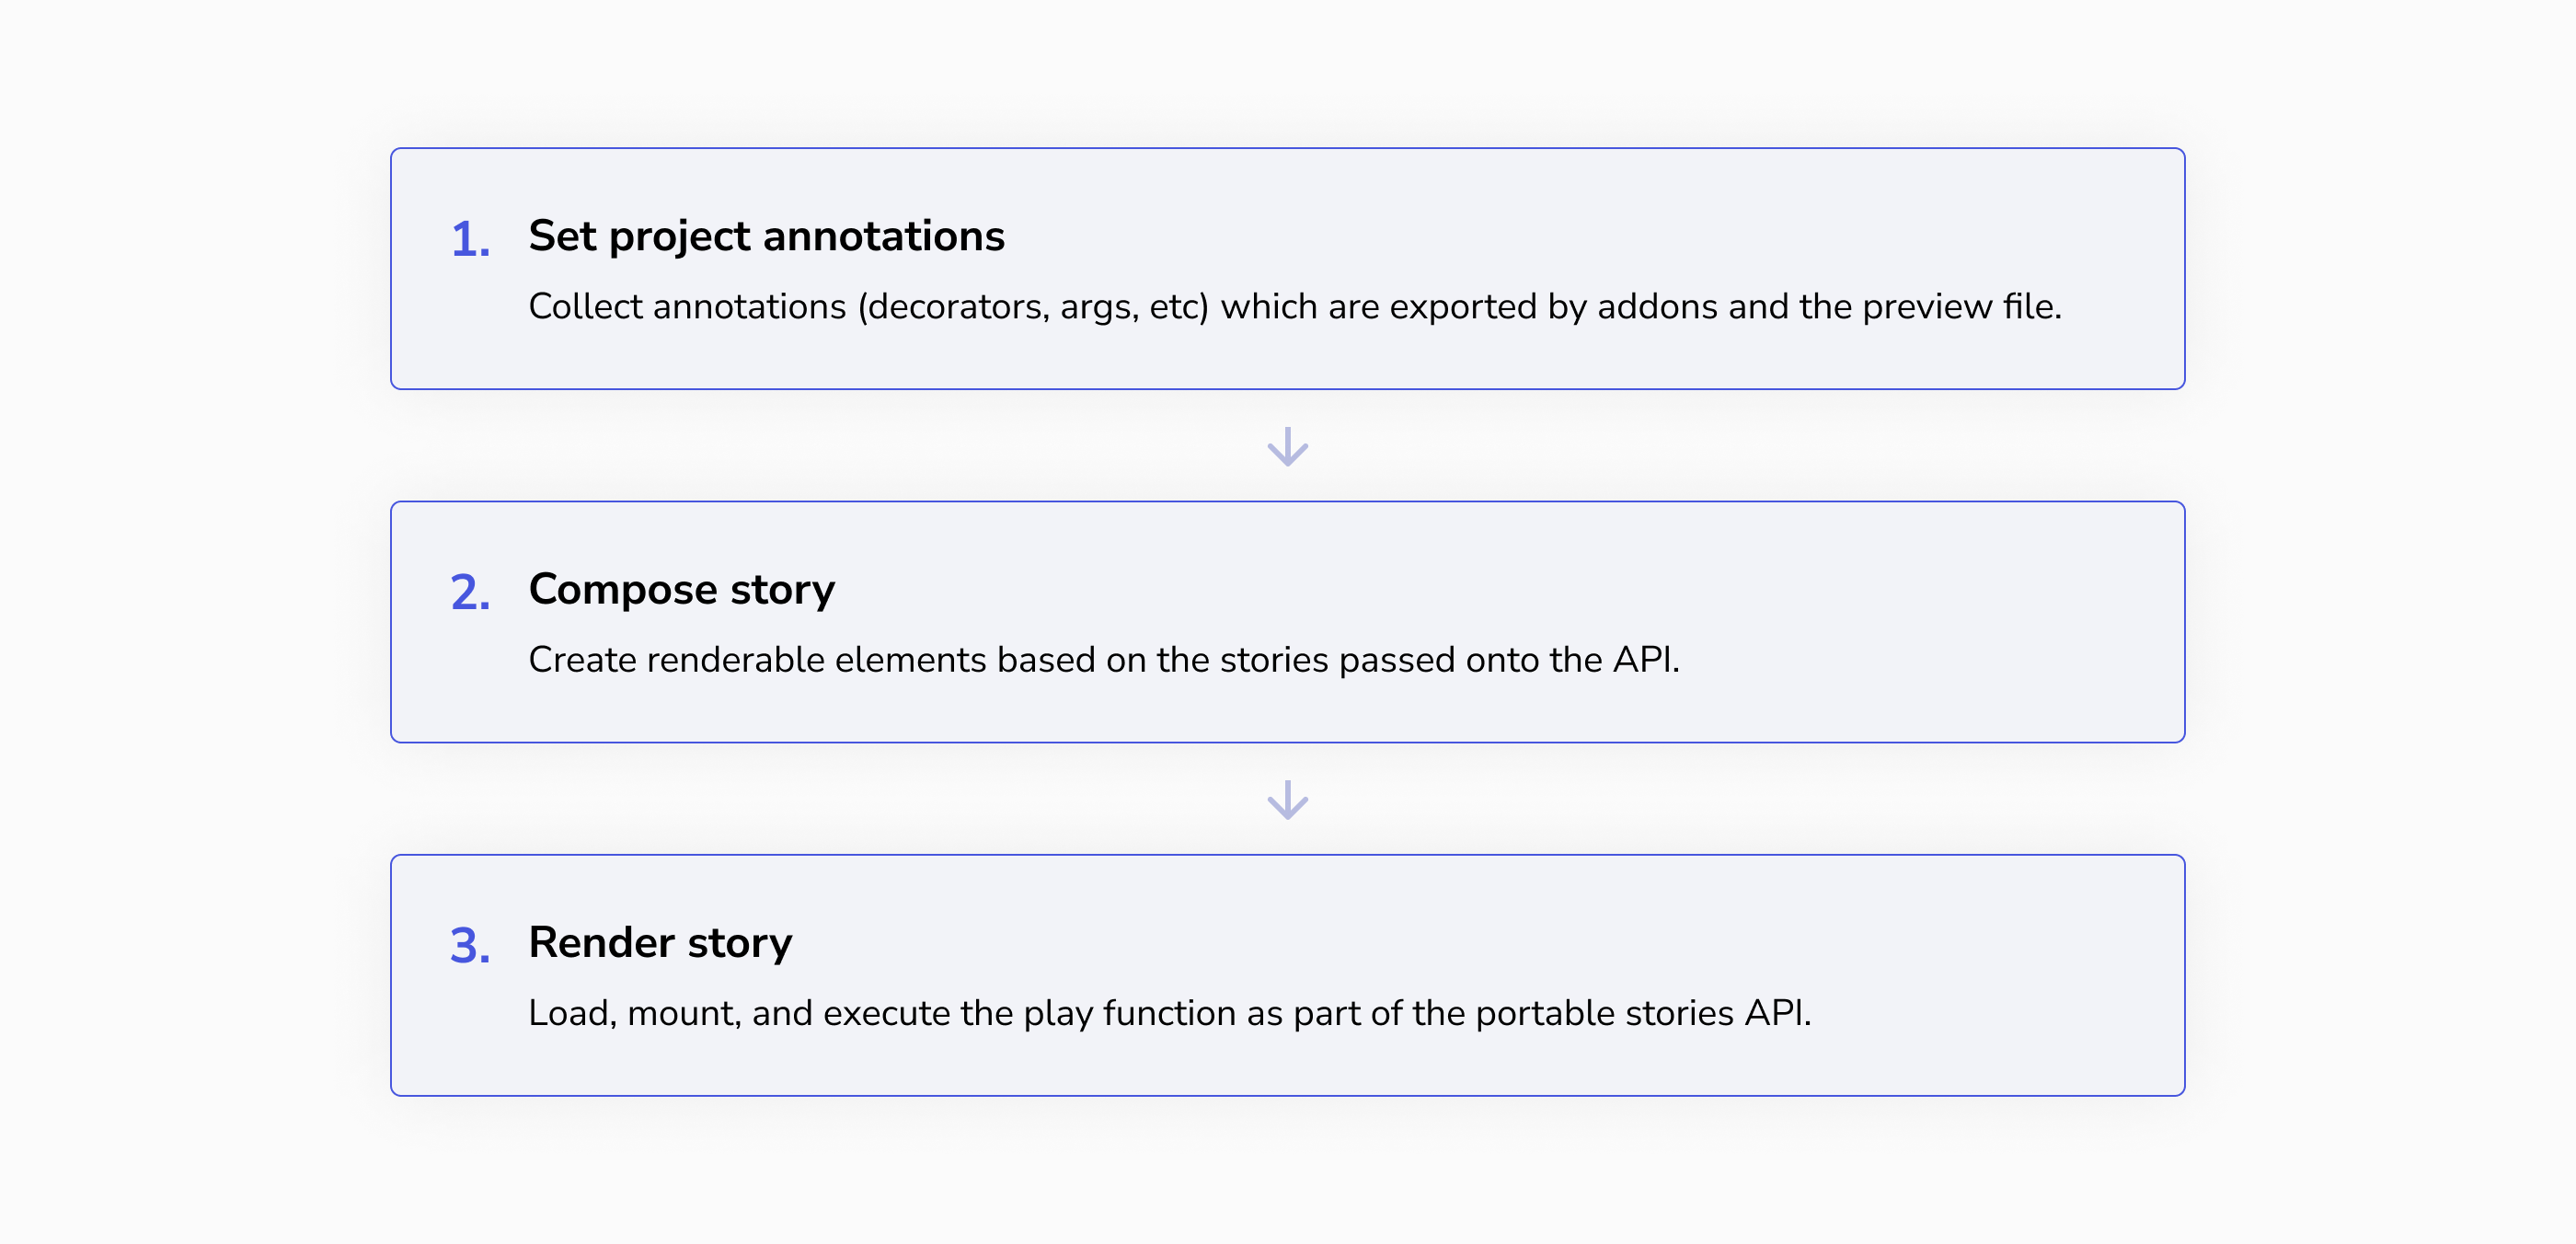
To preview your stories, Storybook runs a story pipeline, which includes applying project annotations, loading data, rendering the story, and playing interactions. This is a simplified version of the pipeline:

When you want to reuse a story in a different environment, however, it's crucial to understand that all these steps make a story. The portable stories API provides you with the mechanism to recreate that story pipeline in your external environment:
1. Apply project-level annotations
Annotations come from the story itself, that story's component, and the project. The project-level annotations are those defined in your .storybook/preview.js file and by addons you're using. In portable stories, these annotations are not applied automatically — you must apply them yourself.
👉 For this, you use the setProjectAnnotations API.
2. Prepare, load, render, and play
The story pipeline includes preparing the story, loading data, rendering the story, and playing interactions. In portable stories within Playwright CT, the mount function takes care of these steps for you.
👉 For this, you use the createTest API.
If your play function contains assertions (e.g. expect calls), your test will fail when those assertions fail.
Overriding globals
If your stories behave differently based on globals (e.g. rendering text in English or Spanish), you can define those global values in portable stories by overriding project annotations when composing a story:
import { composeStory } from '@storybook/react';

import meta, { Primary } from './Button.stories';

export const PrimaryEnglish = composeStory(
  Primary,
  meta,
  { globals: { locale: 'en' } } // 👈 Project annotations to override the locale
);

export const PrimarySpanish = composeStory(Primary, meta, { globals: { locale: 'es' } });
You can then use those composed stories in your Playwright test file using the createTest function.
