TODO:
[] dont show panel if no iframeSrc has been set [] replace readme
Storybook Addon Kit
Simplify the creation of Storybook addons
- 📝 Live-editing in development
- ⚛️ React/JSX support
- 📦 Transpiling and bundling with Babel
- 🏷 Plugin metadata
- 🚢 Release management with Auto
- 🧺 Boilerplate and sample code
Getting Started
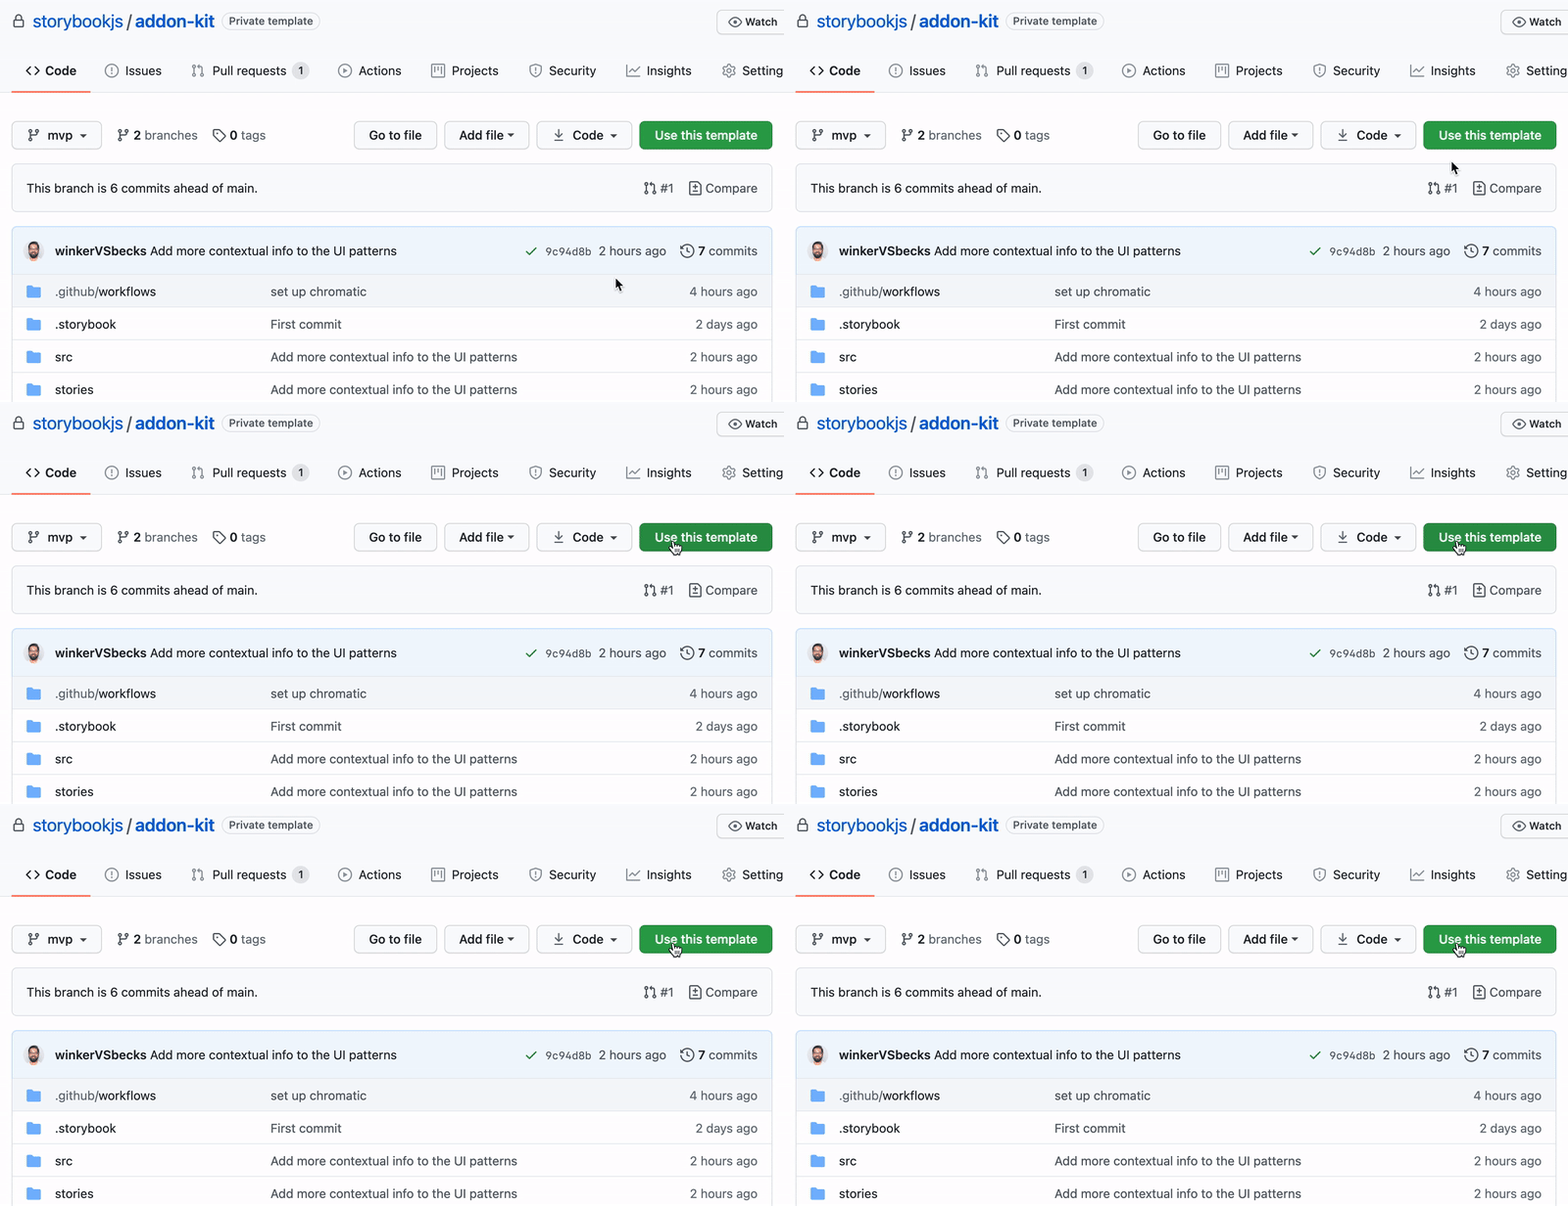
Click the Use this template button to get started.

Clone your repository and install dependencies.
npm install
Development scripts
npm run startruns babel in watch mode and starts Storybooknpm run buildbuild and package your addon code
What's included?

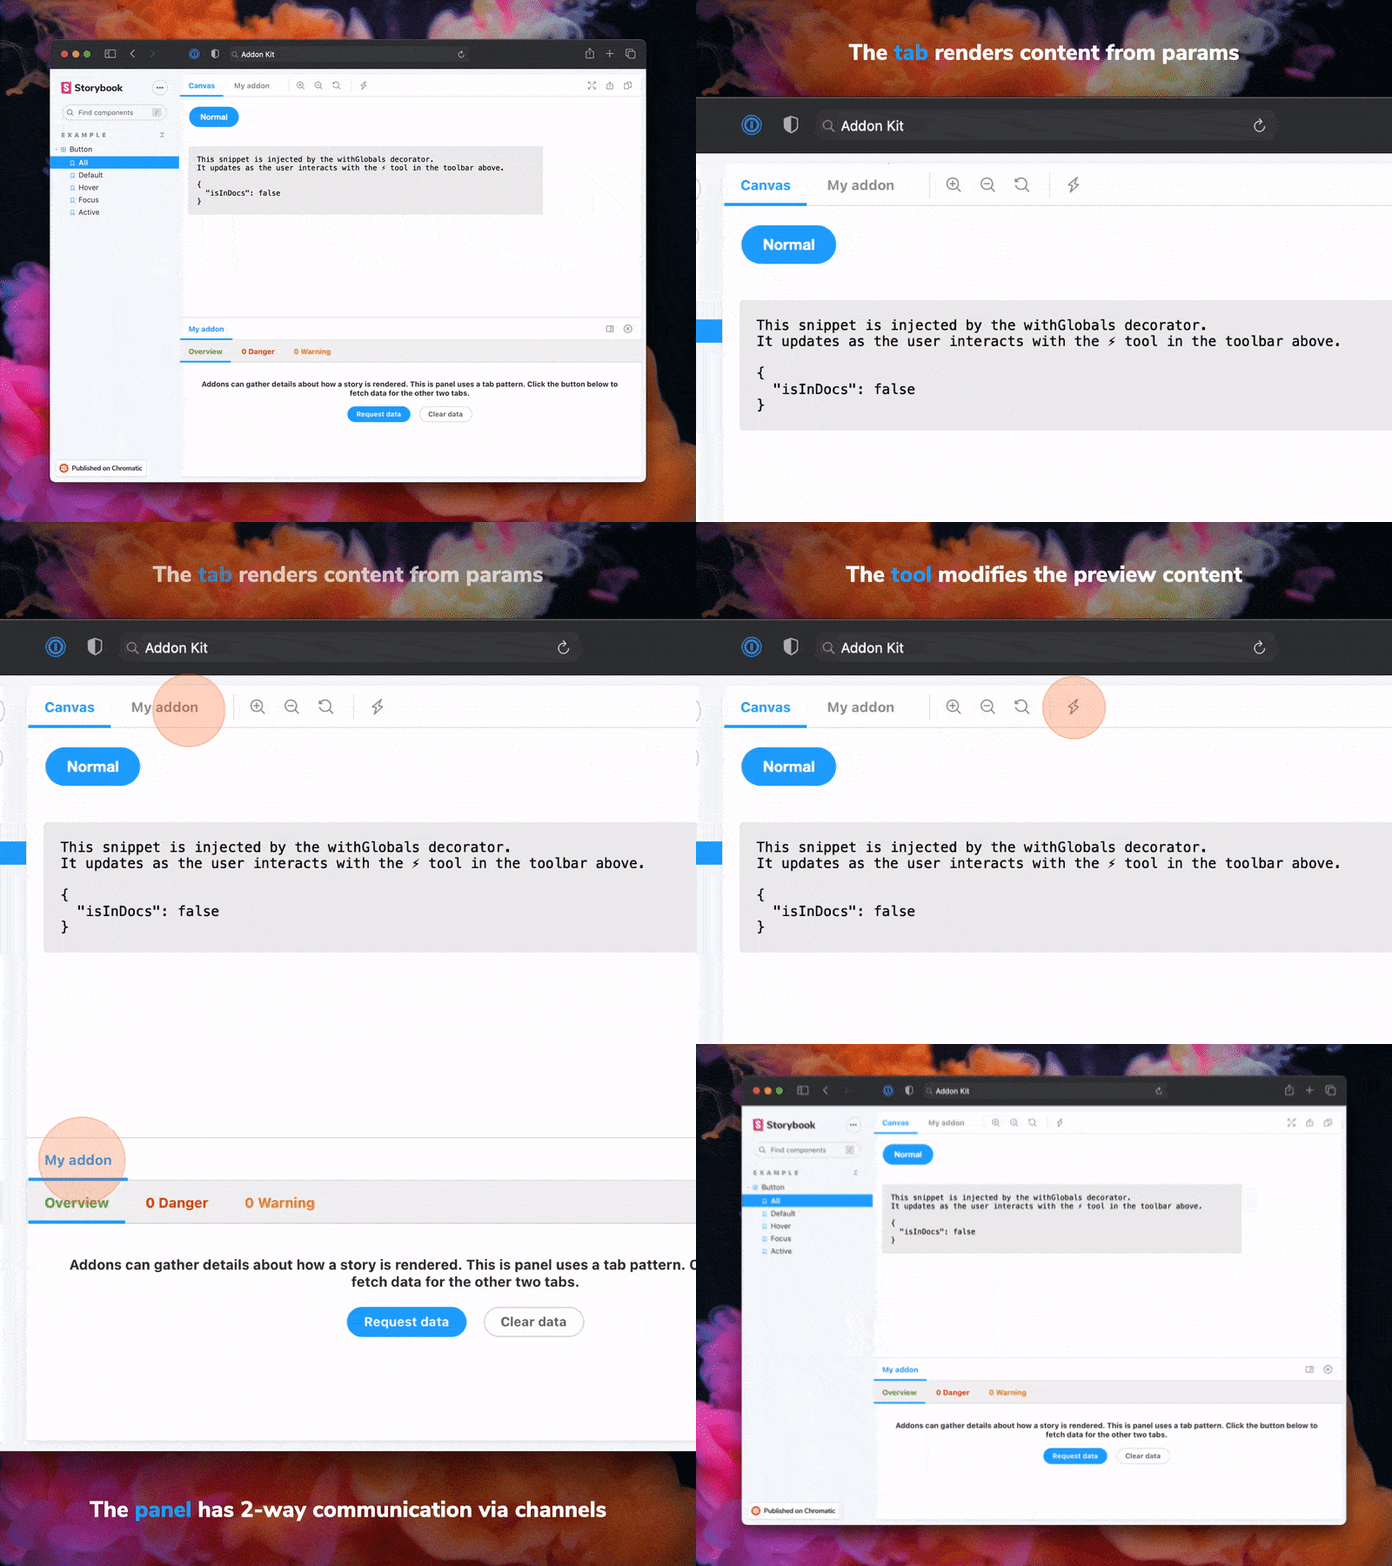
The addon code lives in src. It demonstrates all core addon related concepts. The three UI paradigms
src/Tool.jssrc/Panel.jssrc/Tab.js
Which, along with the addon itself, are registered in src/preset/manager.js.
Managing State and interacting with a story:
src/withGlobals.js&src/Tool.jsdemonstrates how to useuseGlobalsto manage global state and modify the contents of a Story.src/withRoundTrip.js&src/Panel.jsdemonstrates two-way communication using channels.src/Tab.jsdemonstrates how to useuseParameterto access the current story's parameters.
Your addon might use one or more of these patterns. Feel free to delete unused code. Update src/preset/manager.js and src/preset/preview.js accordingly.
Lastly, configure you addon name in src/constants.js.
Metadata
Storybook addons are listed in the catalog and distributed via npm. The catalog is populated by querying npm's registry for Storybook-specific metadata in package.json. This project has been configured with sample data. Learn more about available options in the Addon metadata docs.
Release management
Setup
This project is configured to use Auto for release management. It generates a changelog and pushes it to both GitHub and npm. Therefore, you need to configure access to both:
- Authenticate using
npm adduser - Create an access token. You’ll need a token with both Read and Publish permissions.
- Similarly, generate a Github token. This token will need the repo scope.
Create a .env file at the root of your project and add both these tokens to it:
GH_TOKEN=<value you just got from GitHub>
NPM_TOKEN=<value you just got from npm>
Lastly, create labels on GitHub. You’ll use these labels in the future when making changes to the package.
npx auto create-labels
If you check on GitHub, you’ll now see a set of labels that Auto would like you to use. Use these to tag future pull requests.
Creating a releasing
npm run release
That will:
- Build and package the addon code
- Bump the version
- Push a release to GitHub and npm
- Push a changelog to GitHub